Add the controls you need to the free settings screen
Freeform Login Pro does not replace the free plugin. Activate both plugins and the Pro controls appear inside the existing settings screen, so backgrounds, placement, form styling, and button states can be reviewed in the same live preview.
WordPress password authentication, passkeys, and login-form shortcodes continue to use the free plugin. Pro focuses on presentation: it gives you finer control over how the login screen fits the site's brand and background media.
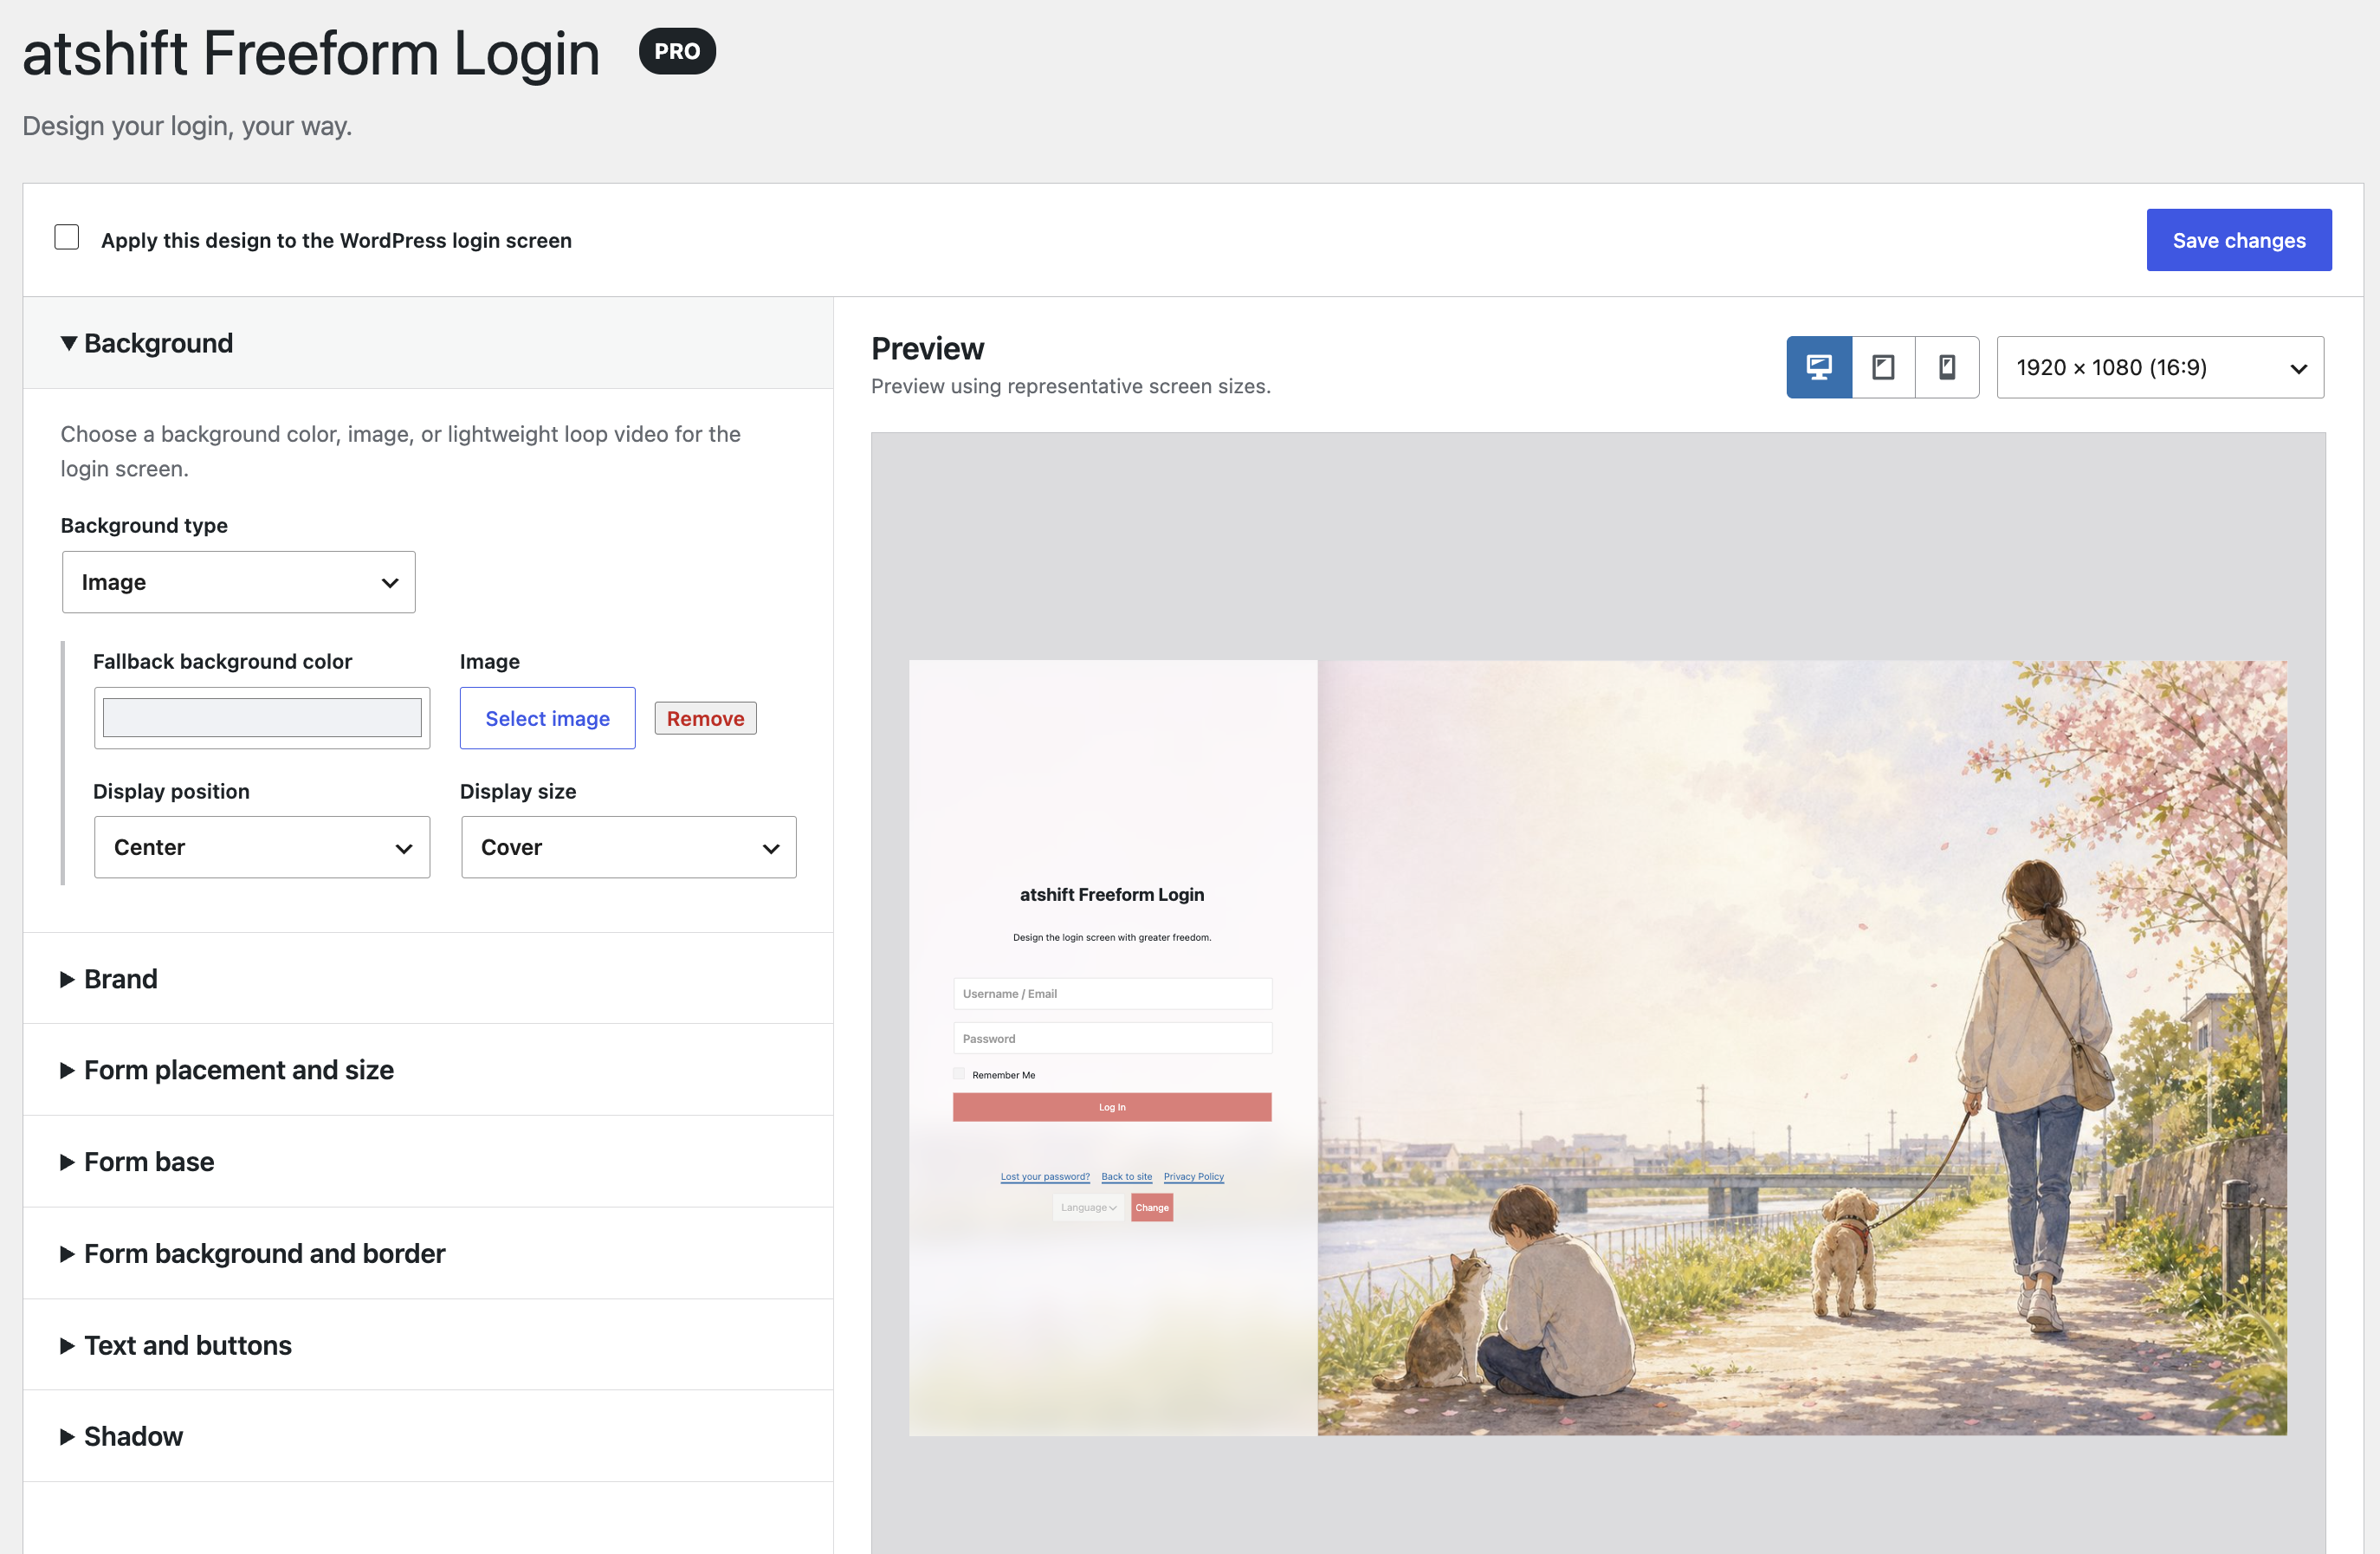
Configure and verify in one screenChanges made on the left appear in the login preview on the right. Switch between representative desktop, tablet, and mobile proportions before enabling the design.
Passkeys and shortcodes are available in the free plugin. Pro does not replace authentication; it extends the presentation and placement of the login screen.
Pro settings, screen by screen
Select any screenshot to inspect the actual settings at full size. Each group below explains what the controls change and where that control matters in day-to-day use.
01 / BACKGROUND
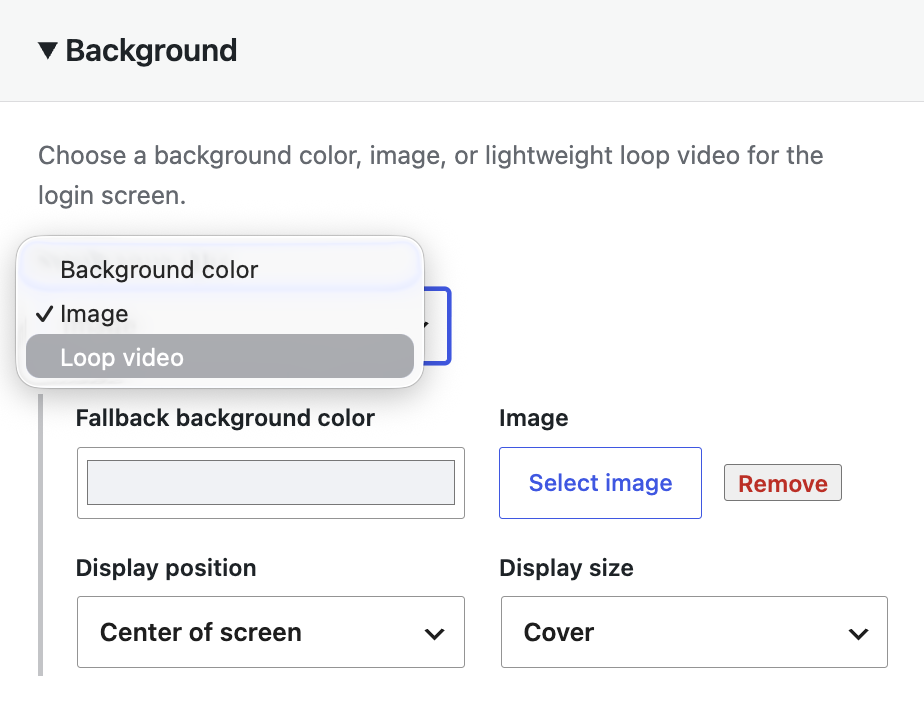
Use a looping video, not only a still image
Choose an MP4 or WebM file from the media library and display it across the login screen as a muted loop. The free plugin's background size and position settings remain available, so the form can be placed away from the main subject.
A configured background image becomes the poster shown before the video is ready. Short, compressed media is recommended to keep the login screen responsive.
Background settingsChoose a color, still image, or looping video, then set its size and position.
02 / BRAND
Keep wide and tall logos in their original proportions
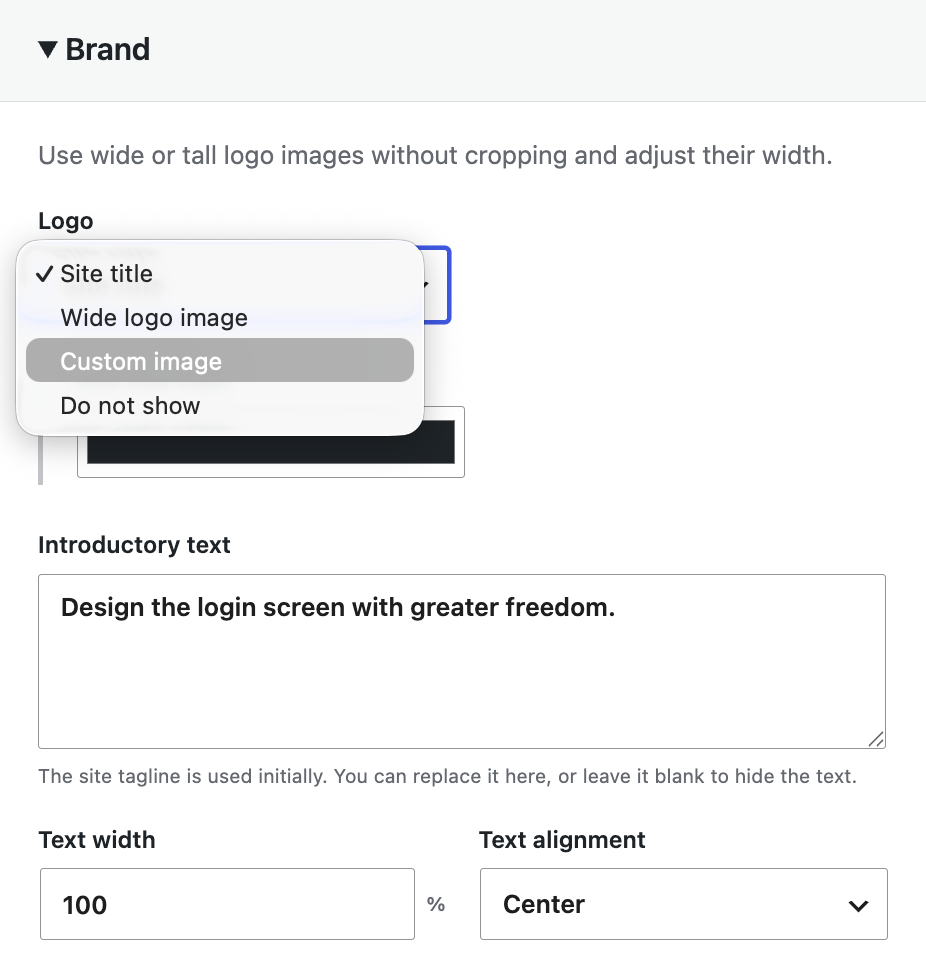
Replace the site title with a custom logo while preserving the source image's aspect ratio. Set the logo width from 10 to 100 percent so either a compact symbol or a wide wordmark fits the form.
The logo can also be hidden when branding is already part of the background artwork.
Brand settingsSet a custom logo, introductory text, logo width, and alignment.
03 / PLACEMENT
Start from 25 anchors, then refine with numeric offsets
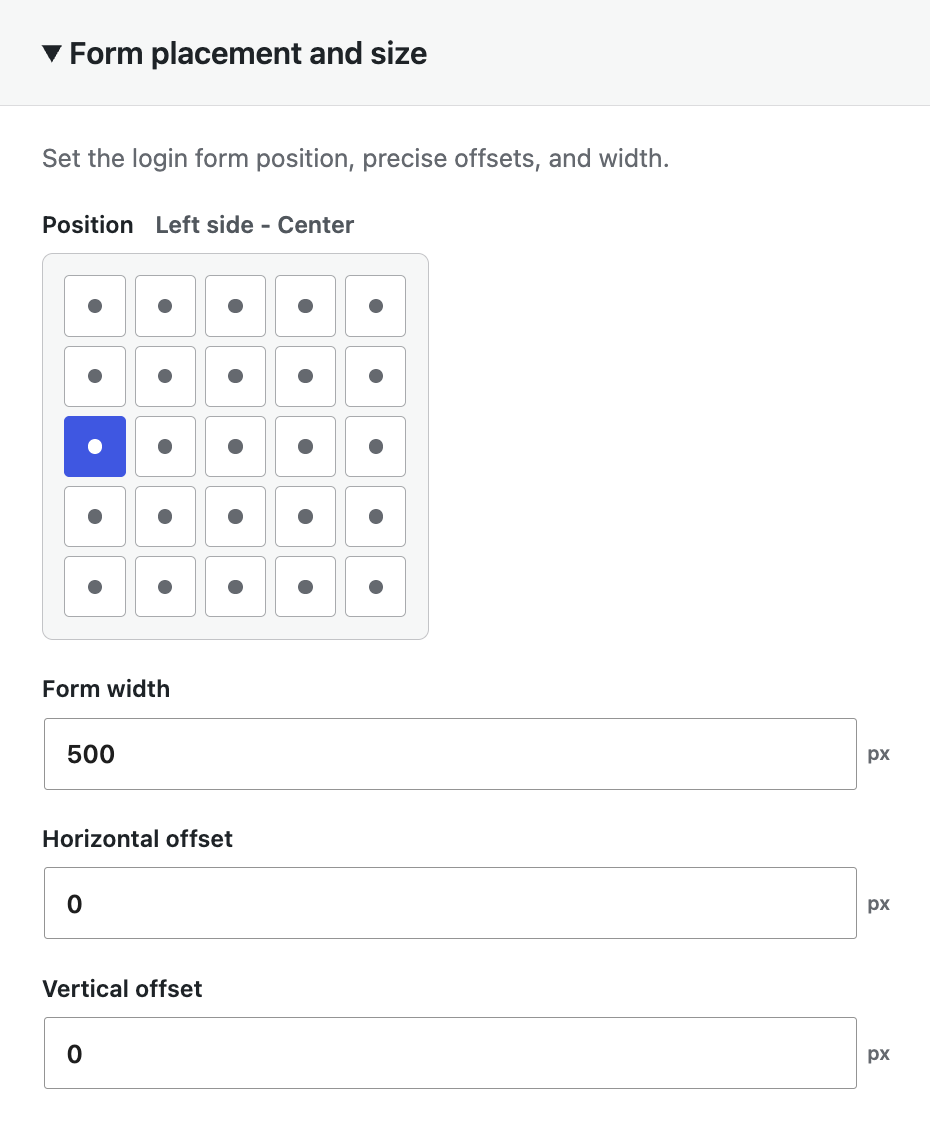
Pro expands the free nine-position layout to a 5 by 5 grid. After choosing an anchor, move the form horizontally and vertically from -500 to 500 pixels to work around people, products, or negative space in the background.
Narrow and short screens fall back to a safer mobile layout, reducing the chance that desktop positioning moves login controls outside the usable viewport.
Placement and sizeReview the 25 anchors, form width, and horizontal and vertical offsets in preview.
04 / LAYER & FORM
Create readable separation between the media and form
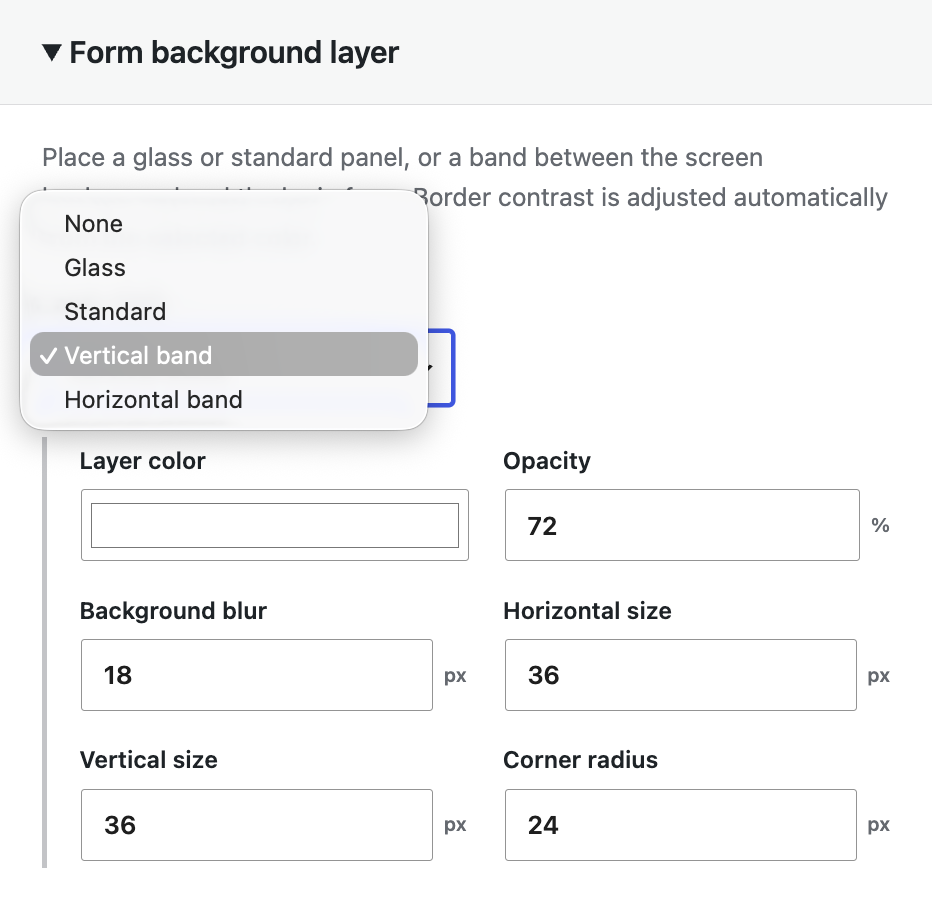
Choose a glass panel, standard rectangle, vertical band, or horizontal band. Control its color, opacity, backdrop blur, horizontal and vertical space, and corner radius; edge contrast is calculated from the selected color.
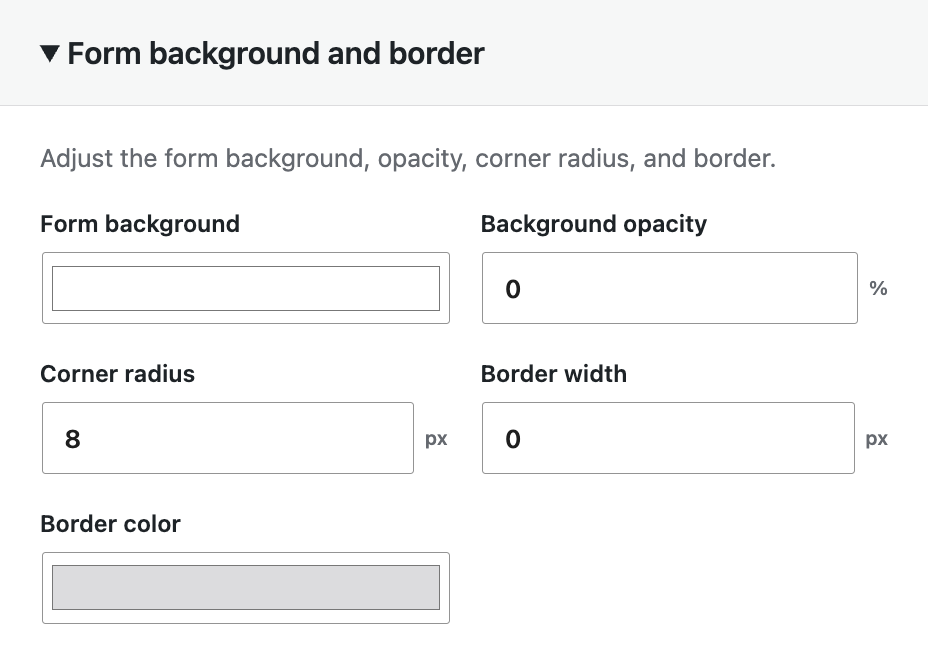
The login form itself has separate controls for background opacity, corner radius, border width, and border color. This keeps labels and fields readable without hiding the background.
Background layerSet the layer shape, color, opacity, blur, and surrounding space.Form stylingRefine the form's own opacity, corners, and border.
05 / INTERACTION
Match the screen while users are interacting with it
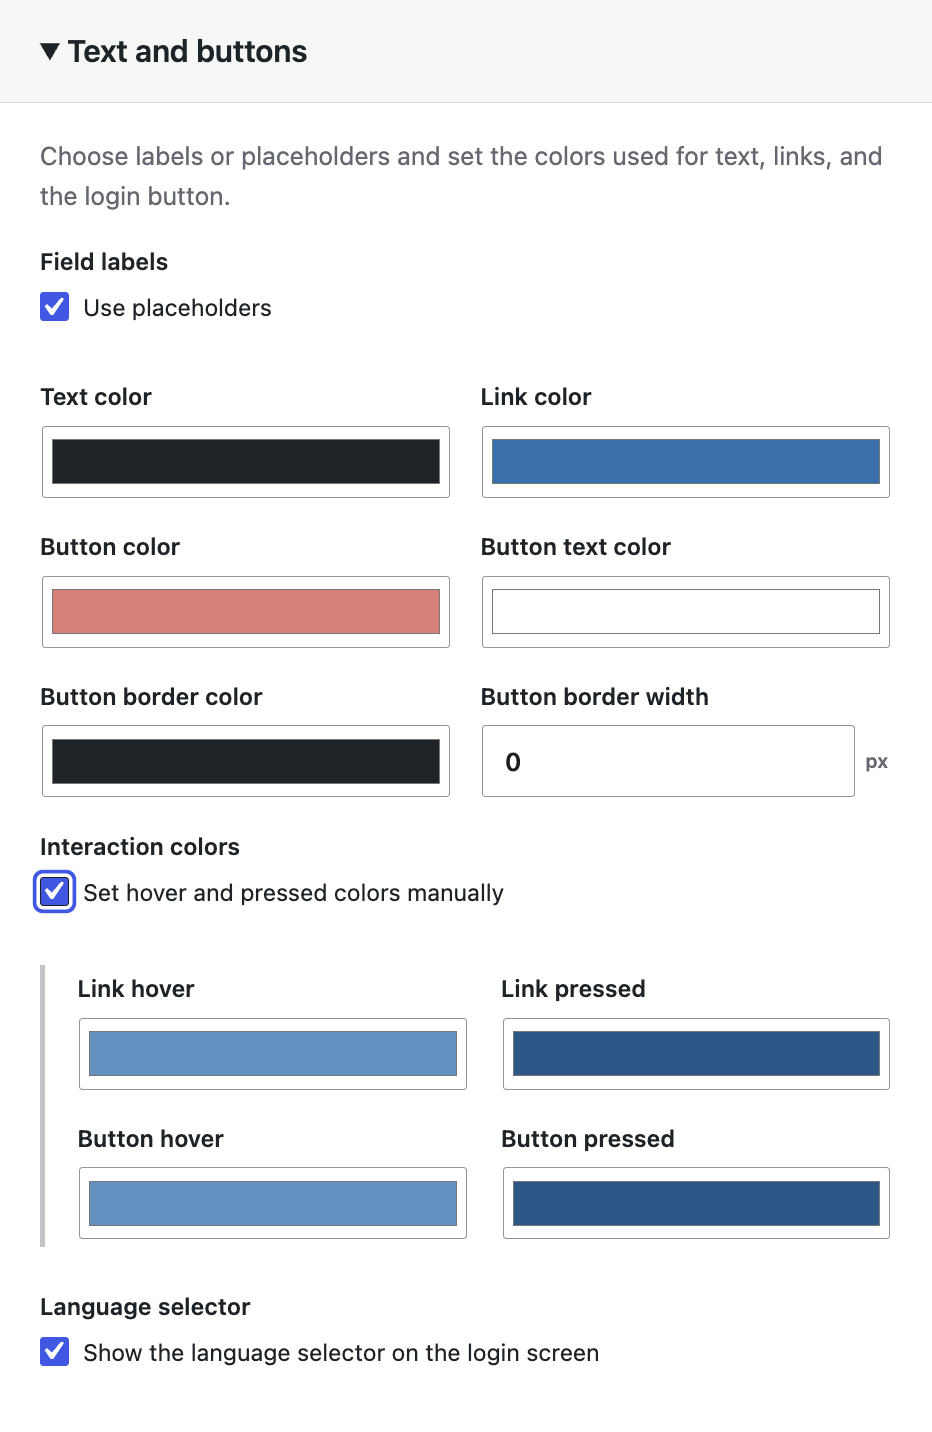
Set separate hover and pressed colors for links and buttons, plus button border width and color. These controls help align the login button, language selector, Jetpack SSO, and the standalone passkey button.
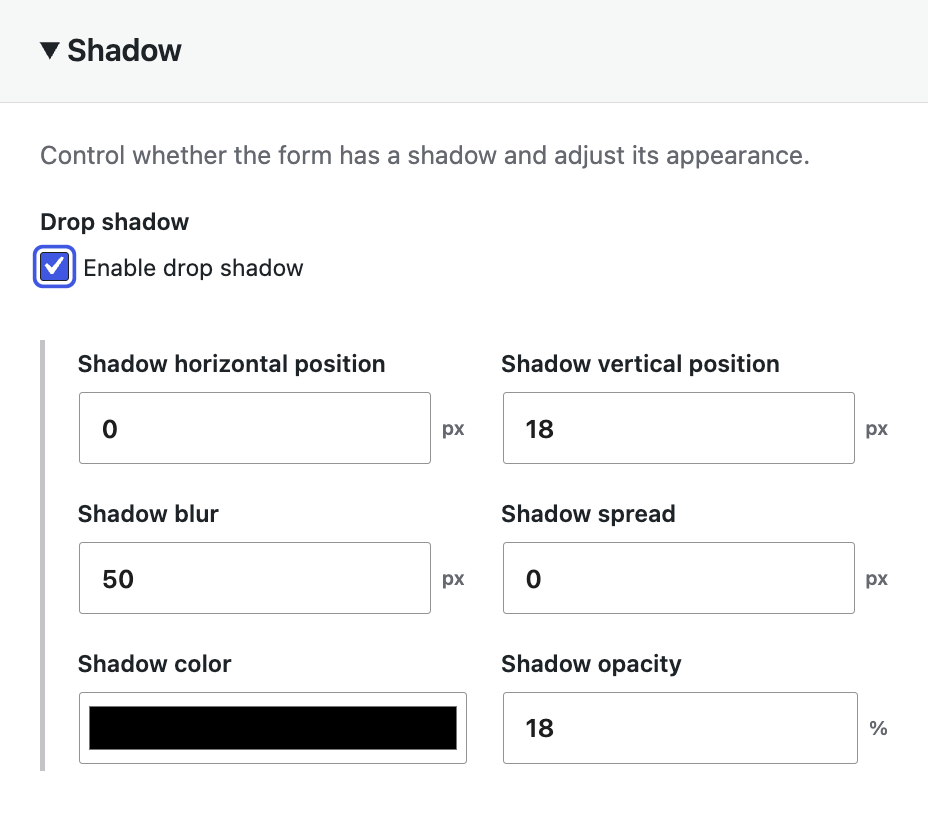
Form shadows expose horizontal and vertical position, blur, spread, color, and opacity. Pro also lets you choose whether the WordPress language selector appears on the login screen.
Text and buttonsSet hover, pressed, button border, and language-selector behavior.ShadowControl position, blur, spread, color, and opacity numerically.
Requirements and verification
Install the free Freeform Login plugin first, then upload and activate the purchased Pro ZIP. If Pro is disabled, the free settings and normal WordPress login continue to work.
WordPress 6.5 or later
PHP 7.4 or later
Freeform Login free plugin
Passkeys require PHP 8.3 or later, HTTPS, and the JSON and OpenSSL extensions
After purchase
Receive the Pro ZIP and license key on the completion page or by email.
Upload and activate Pro on a site where the free plugin is already active.
Open Settings → License and activate the current site with the issued key.
Adjust the Pro controls in Freeform Login, review the preview, and enable the design.
A Personal license can be active on one site at a time. Deactivate the old site before moving the license to a new installation. Pro settings remain stored when the license is temporarily inactive.
Verify the design and authentication before production. Check video weight, form readability, password managers, and authentication including Jetpack SSO in a staging environment.

 atshift Fields
 User Profile Fields
 Freeform Login
 Feed Builder
 KOTOTSUGI